
 Creating Custom Pictures For The Sims 2 – UPDATED (Views:
2,449
)
Creating Custom Pictures For The Sims 2 – UPDATED (Views:
2,449
)
I’ve included a pdf file of this tutorial, but please do not distribute this, it’s for your own, personal use only. If you want to direct attention to this tutorial, please give out a link to this website, instead. Thank you.
You will need:
Sims 2
SimPE
CEP
Graphics editor – I’ll be using Gimp
Pictures to use for your new creations
DDS Utilities
Download and install SimPE and DDS Utilities if you haven’t already. Open up SimPE and from the top menu click ‘Extra’ and ‘Preferences’, and then browse to where you installed DDS Utilities:

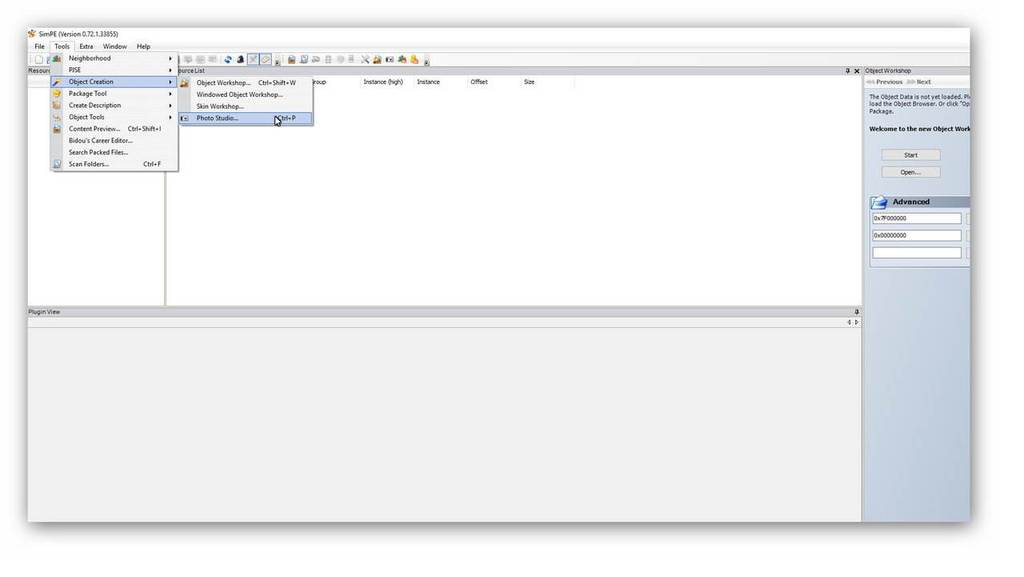
Click ‘OK’ and we’re ready to begin.Okay, open up the ‘Photo Studio’:
The first time you access the Photo Studio you will be prompted to download the image templates. Do this and SimPE will automatically open the studio. If not, you can download the template setup package from the bottom of this post:
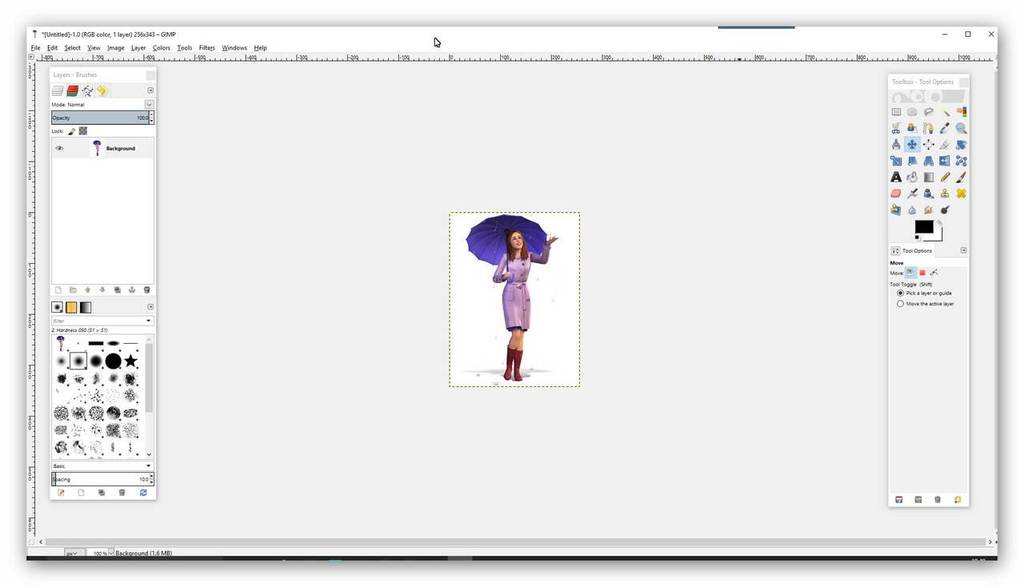
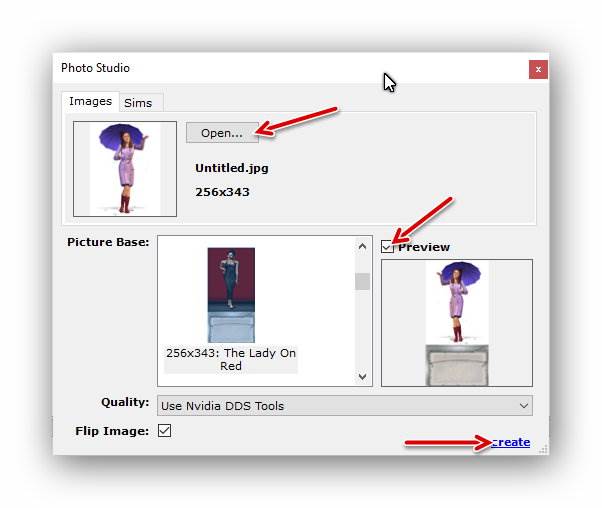
Select the image you want to use and take note of the size of that image:
Go to your image editor and create an image of the same dimensions as the one you selected:
Export the image to wherever you want – I normally use my desktop so I can easily find them. Click ‘Open’, ‘Preview’ and ‘Create’. (Make sure the ‘Flip Image’ box is unticked if you don’t want the image reversed):
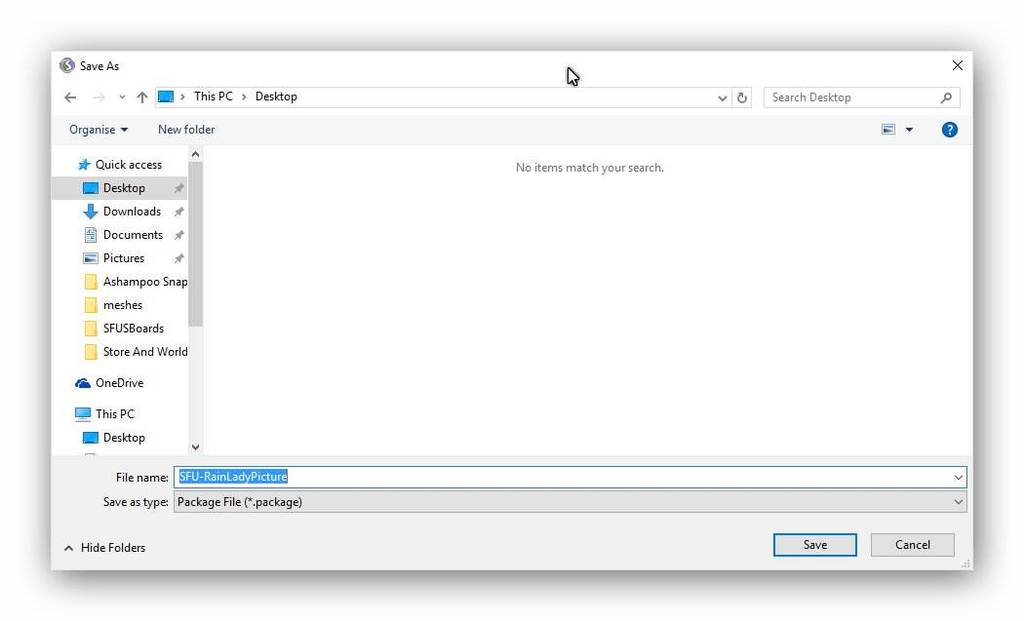
Save the package and give it a name that can easily identify it:
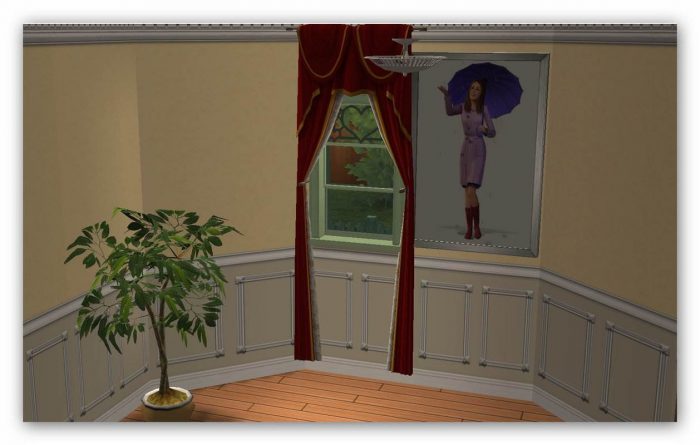
Copy the finished file to your Sims 2 downloads folder and open up your game to make sure the recolour has taken:

Click ‘OK’ and we’re ready to begin.Okay, open up the ‘Photo Studio’:
The first time you access the Photo Studio you will be prompted to download the image templates. Do this and SimPE will automatically open the studio. If not, you can download the template setup package from the bottom of this post:
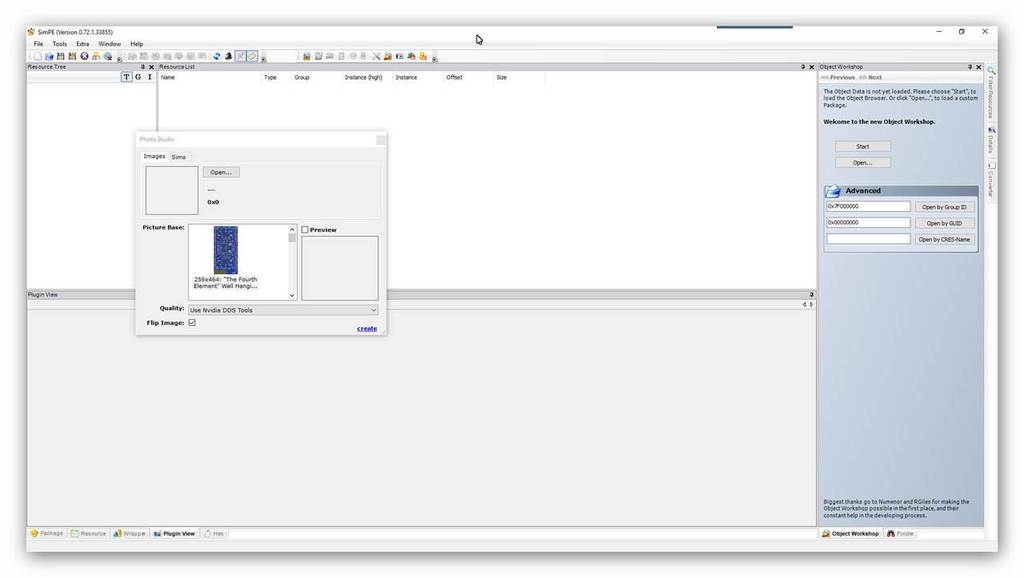
Select the image you want to use and take note of the size of that image:
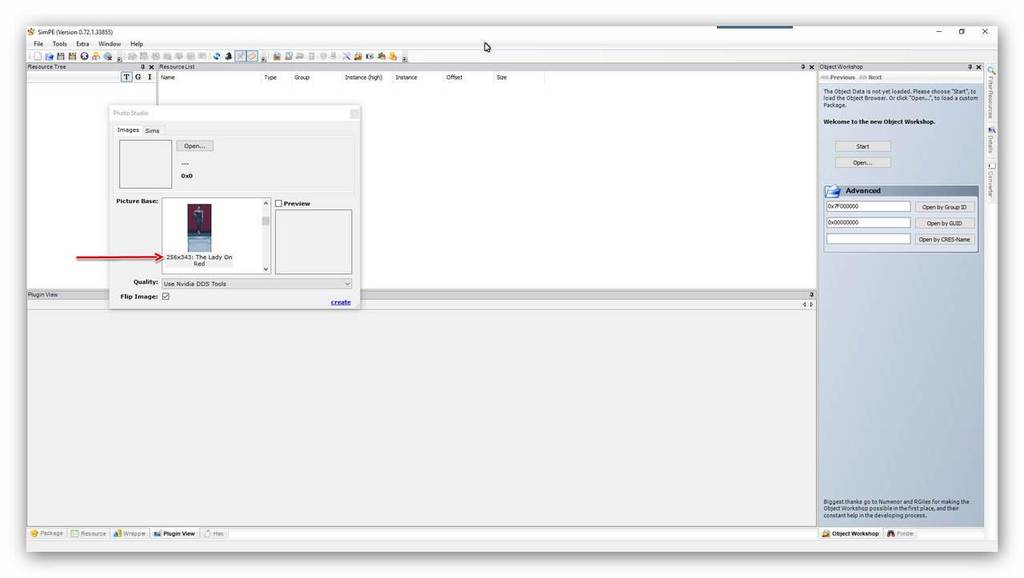
Go to your image editor and create an image of the same dimensions as the one you selected:
Export the image to wherever you want – I normally use my desktop so I can easily find them. Click ‘Open’, ‘Preview’ and ‘Create’. (Make sure the ‘Flip Image’ box is unticked if you don’t want the image reversed):
Save the package and give it a name that can easily identify it:
Copy the finished file to your Sims 2 downloads folder and open up your game to make sure the recolour has taken:

Well done! Now you can create new masterpieces to upload here at SimFansUK! 😆

You must be a logged in member to download this file
Forgot to mention – different images may require different expansion or stuff packs, so please stipulate which pack your new picture needs if you want to upload it.
I hope I can do this at my old 75 yrs of age my brain isn’t what it use to be, hehehe, not like just creating pictures in PaintShopPro, just copy and frame it and your done.
Thanks LadyAngel for this