 Creating recolourable subsets for your Sims 2 meshes (Views:
2,671
)
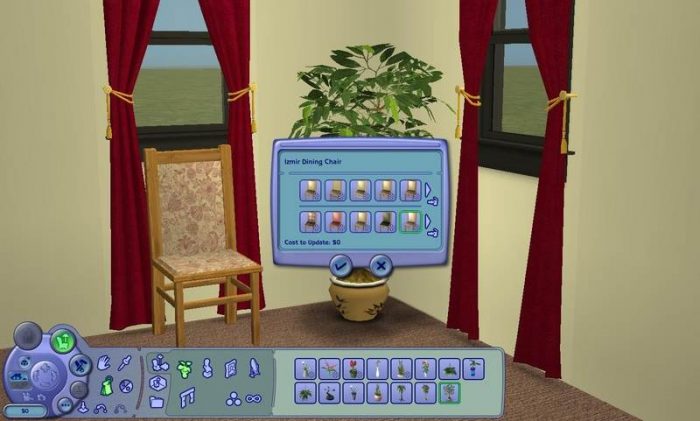
Click here to view tutorial
For this tutorial you will need:
SimPE
CEP
3D program – I recommend Wings 3D
UVMapper – I recommend UVMapper Pro, but they do have a free version
Gimp – or other image editing program
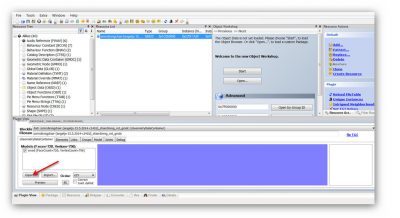
First, clone an object from SimPE and export the mesh on which you will be basing your new creation:
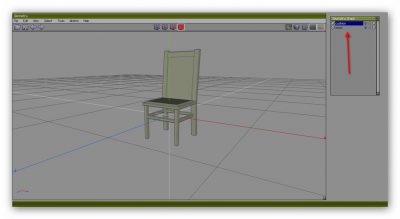
In your 3D program, create the separate meshes that you will be using for your item. You can only create 2 recolourable parts:
Map each piece separately using your UVMapper program. Apart from anything else, this should give you much better texturing rather than having everything all mapped onto one image.
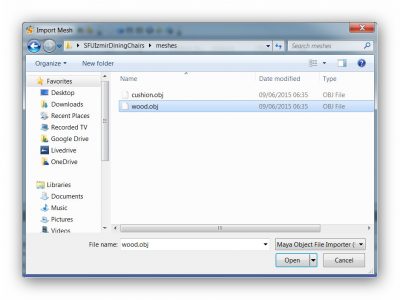
Once your meshes are created and mapped, open up SimPE and the file you want to edit. Import the first mesh, in this case, the wood:
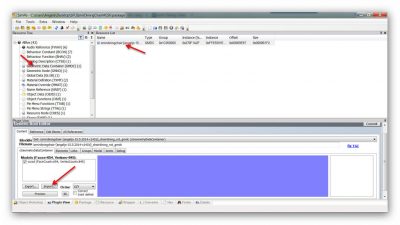
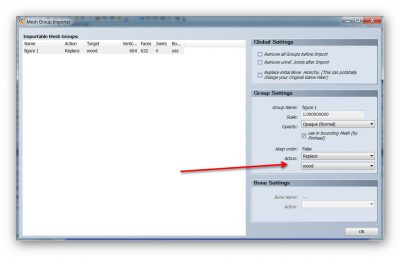
Select ‘Replace/Wood’ (or whatever the name is of the file you will be replacing):
Now import the next mesh, this time selecting ‘Add’:
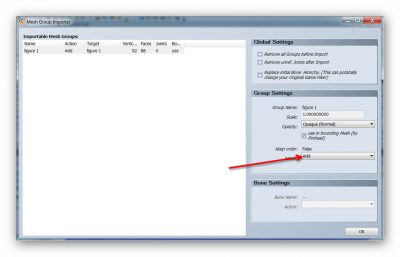
Commit the change.
You can change the name of the meshes using the ‘Groups’ tab at any time. Always remember to click ‘Commit’ after each action you perform within SimPE:

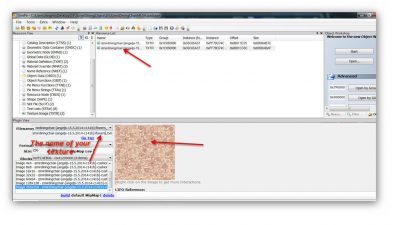
Import the first texture image, in this case, the wood:
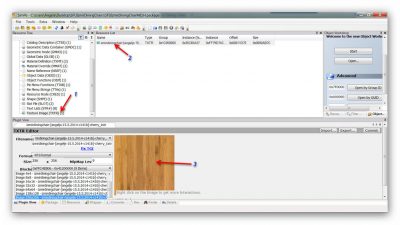
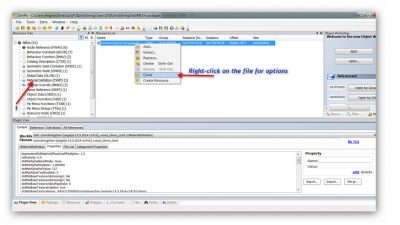
Clone that image by right-clicking on the file name in the ‘Resource List’ and select it. Import the new image and give the texture a name, leaving the ‘_txtr’ part:

Now, your new subset needs a material definition, so we’re going to clone the one that’s already there:
Click on the new file and rename it – the first part of the name should be the name of the new mesh, and the second part should be the name you gave your new texture. Don’t forget to commit the changes:
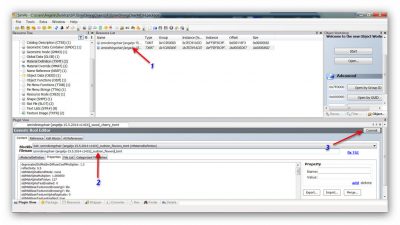
In the ‘Properties’ tab, click on the ‘stdMatBaseTextureName’ line, and change the last part of the file name to the name of your new texture, then commit:

Change the name in the ‘File List’ tab also:

Now go to ‘Shape’ and add a new entry under the ‘Parts’ tab to point to the new material definition you just created. Enter the name of your new mesh as the ‘Subset Name’, and enter the name of your new texture image at the end of it:
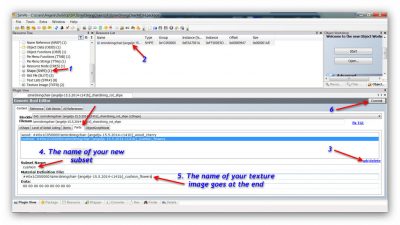
Fix integrity, then preview your mesh to see if it looks okay. If it doesn’t, you’ve done something wrong and need to go over the steps again:
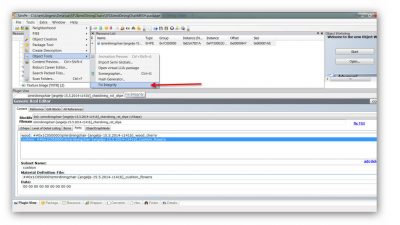
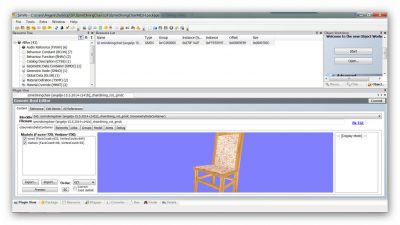
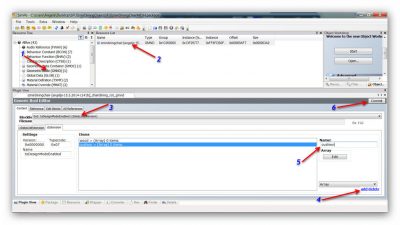
To make the new subset recolourable, open the ‘Geometric Node’ and select ‘tsDesignModeEnabled’ from the drop-down box from the ‘Blocklist’ section. Add a new subset (you can only have 2), and rename it to the name of your new mesh:
Go the ‘Material Override’ and clone the file there to make a new one. Select the ‘Family’ line and open up the ‘Hash Generator’:
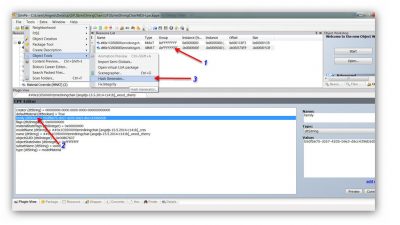
In the box that pops up, select ‘GUID’ and copy the string from the text field. Paste it into the ‘Value’ text area:
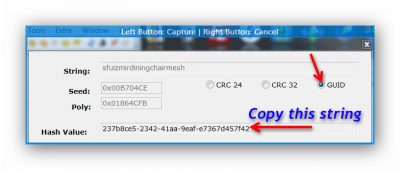

Click the ‘Name’ line and rename the file with the name of your new mesh and new texture, then commit the changes:

Click the ‘subsetName’ line and rename it to the name of your new mesh, committing the changes:
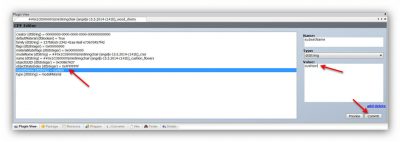
Now you MUST fix integrity. Save the file, and hopefully you will now have a mesh with 2 recolourable parts that can be mix-and-matched from within the game. Fire up your game to try out your new mesh and see if it works! You can make lots of recolours to give downloaders tons of mix-and-match options. I know it seems like a lot of work, but, oh, how worth it!
Please let me know if you have any problems or just want to chat about this tutorial at all.

You must be a logged in member to download this file

Recent Comments