 Creating Transparent Objects Using Gimp (Views:
1,315
)
What you will need:
I’m going to use my decorative floor grating mesh for this tutorial. This tutorial does not cover meshing or UV mapping, you should already know how to create meshes for the Sims 2 before you go any further. If you do not, we have extensive meshing tutorials for you to study. Transparency would be useful for a few things, e.g. shower curtains, window blinds etc.
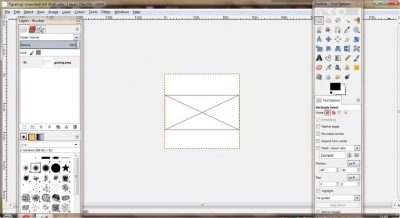
Open up the image you want to use in Gimp:
To create a completely transparent image, you can do the following. I did this for my floor grating, then I pasted the grating image (that I found via Google Images) over the top of it, so the transparent parts of the image are clear.
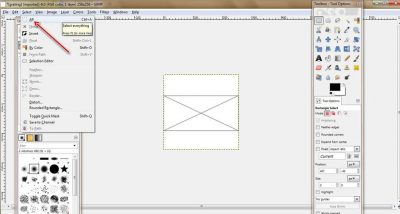
First of all, select the whole image:
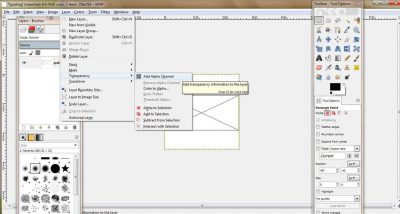
Click ‘Layer’, ‘Transparency’, ‘Add Alpha Channel’:
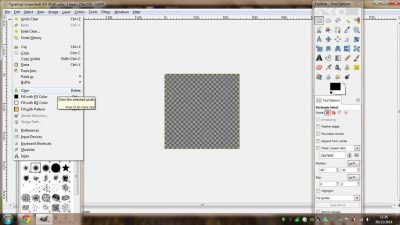
Then ‘Edit’ and ‘Clear’ to make the whole thing transparent:
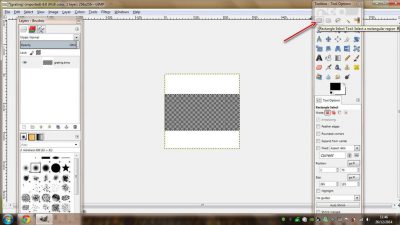
To make only parts of the image transparent, select each part using any selection tool and clear those the same way:
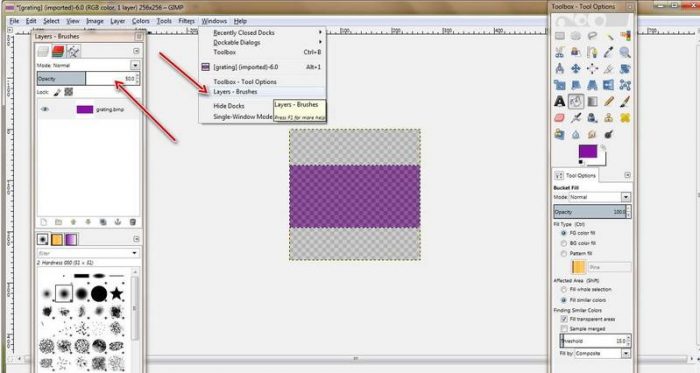
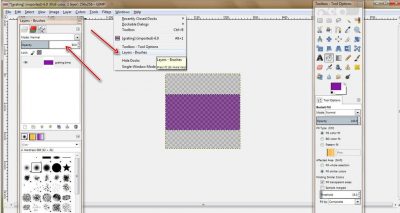
To use a transparent colour rather than an image, bucket-fill the part(s) you want with whichever colour(s) you want, then open the layer window and set the layer opacity – 50% is good, but you can set it to whatever you want, depending on the effect you are looking to achieve:
Save the image as a .png file.
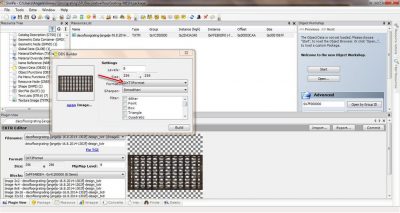
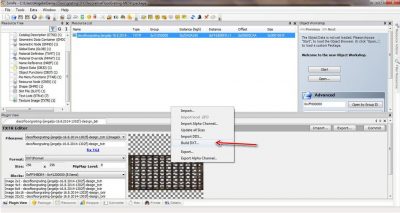
When you import the image into SimPE, make sure you select ‘DXT3Format’ for the transparency to work:
Now you need to set the stdMatAlphaBlendMode to ‘blend’:

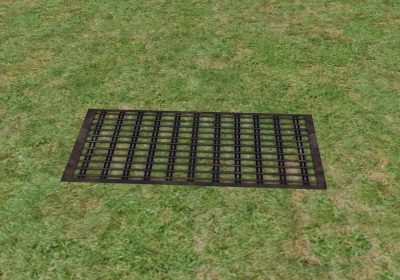
If all has gone according to plan, you should end up with a transparent, or partly transparent, image for your mesh:
I hope this tutorial was useful.

You must be a logged in member to download this file

Recent Comments