 Sims 4 – Creating custom walls, floors, ground covers & roof and foundation patterns (Views:
2,062
)
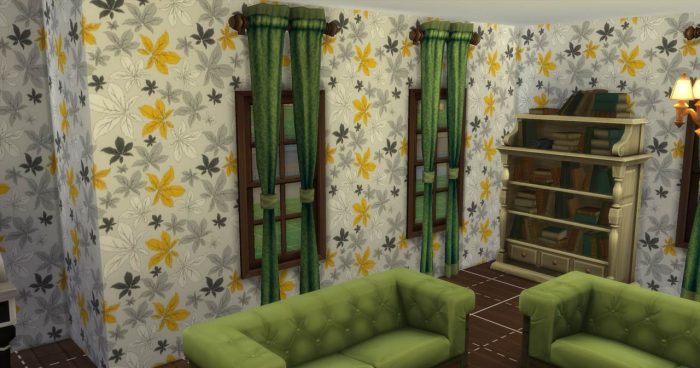
Click here to view tutorial
I’ve managed to create my first wall covering for the Sims 4, and it’s very different from any of the other games, but not too difficult. Here’s what you will need:
The Sims 4 (obviously!)
The Sims 4 Studio
Gimp – I’ll be using Gimp for this tutorial, but you can use any other image editor you feel comfortable with, providing they can export images as .dds format. You can download the dds plugins for Gimp here.
This tutorial covers in details creating custom wall coverings, but creating floors and other patterns is almost identical – easier in fact, as you only need to create 1 image for a floor, whereas you need to create 3 different images for a wall covering.
For all of them, always select the ‘Diffuse’ option when importing images.

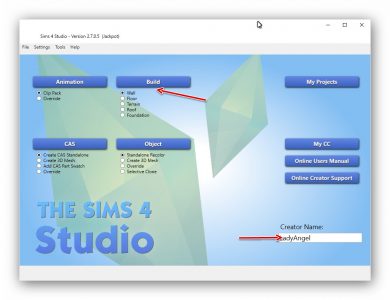
Okay, open up The Sims 4 Studio. You will need to input your creator name before you can create with this software. Once you’ve done that, you can select the wall option and click ‘Build’:
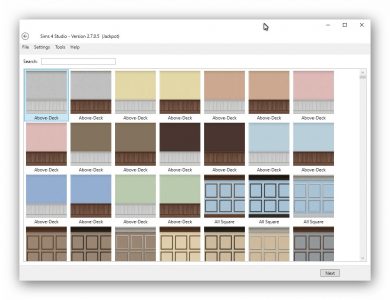
Select any wall, it doesn’t really matter which for the purpose of this tutorial. Click ‘Next’ to save the file and get to the configuration window, and then scroll out to see the full image; i.e. the 3 wall heights:
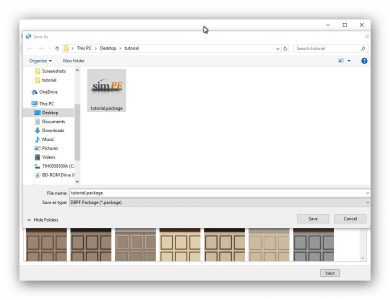
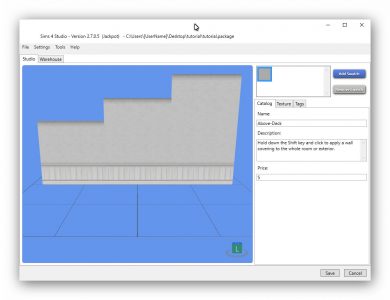
You can change the name, description and price:
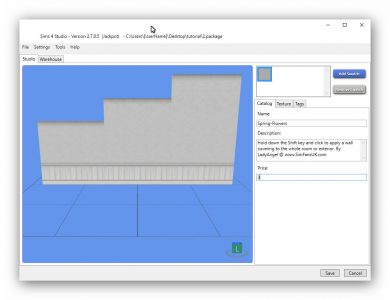
Because of the way the Sims 4 works, you will need to create 3 different images of the following sizes (‘File/New’ from the top menu in Gimp):
Tall – 256 x 1280
Medium – 256 x 1024
Short – 256 x 768
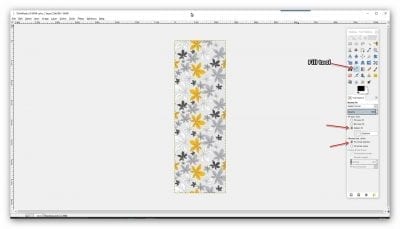
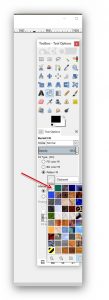
For each one, fill with the pattern of your choice. To do this, open up the pattern you want to use. Select all of the picture, and then copy it to your clipboard:
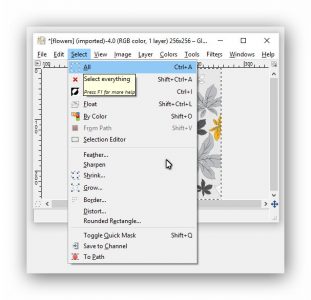
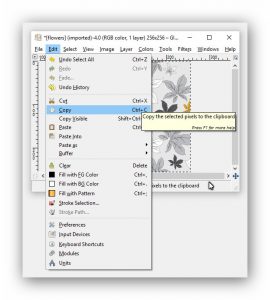
Now create the three images of the above sizes and fill them with the pattern:
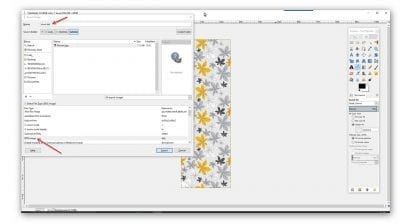
Export each image as a .dds file (‘File/Export’ from the top menu):
Now, this next part is going to seem a little weird, but it’s very important. You are going to have to resize all of the images but without constraining the proportions. They should be resized to:
Tall – 256 x 1024
Medium – 256 x 512
Short – 256 x 512
To resize them without constraining the proportions, make sure the little paperclip thingy is separated:
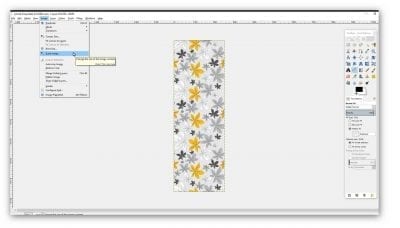
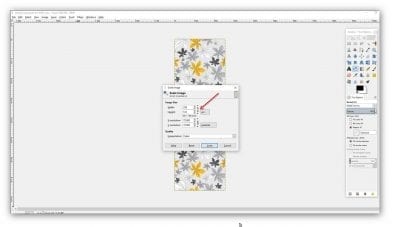
This time when you export, make sure they are in DXT5 format:
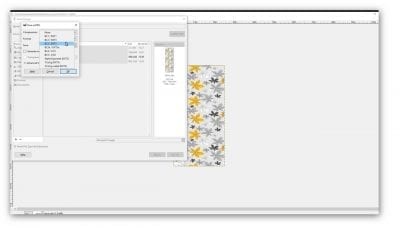
Don’t worry if the images looked squished, they will look okay in-game. Now go back to Sims 4 Studio, click the ‘Texture’ tab and replace each image by importing them one-by-one:
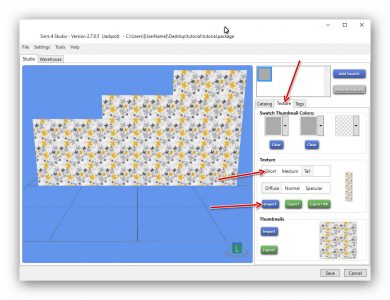
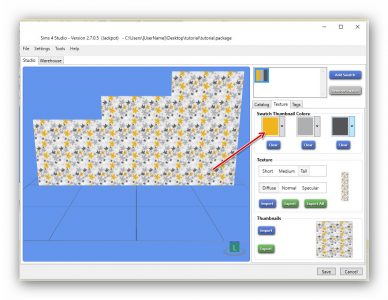
Right-click within the three swatch thumbnail colour selectors. A colour picker tool will appear. Select three colours from your wallpaper and the swatch at the top will change to reflect them:
In the ‘Tags’ tab, select the wall pattern type and the main colours:
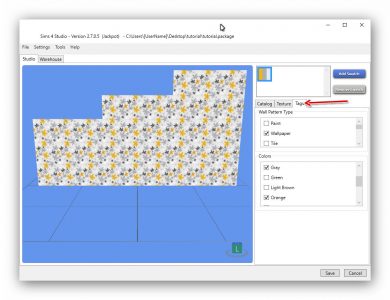
Now just click ‘Save’ at the bottom! You can copy the created file from where you saved it into your Sims 4 Mods folder:
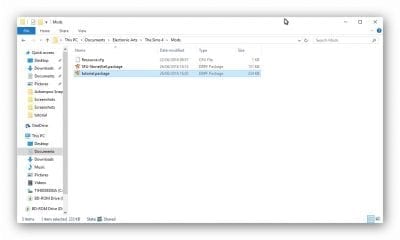
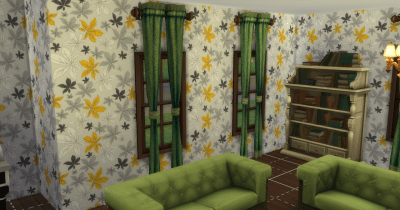
Check the content in-game to make sure it looks okay, then pat yourself on the back! Feel free to share your creations here at SimFansUK! 
Creating Floor Covers, Ground Covers & Foundation Patterns
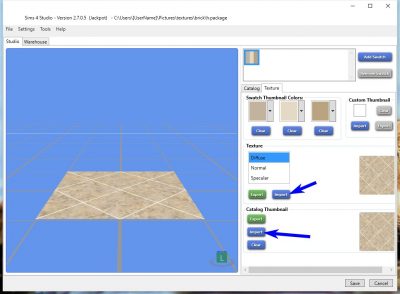
All you need are seamless images of 256×256 and you create them in the same way as the wall coverings:
You need to add a thumbnail of the image for the catalogue. This should be a .gif or .jpg image. Make sure you select the same type of flooring that you want to create when you open up the Sims 4 Studio. If you want to create a floor tile, select a floor tile so your creation will show up in the correct place in the catalogue.
Create ground coverings and foundation patterns in the exact same way.
Creating New Roof Patterns
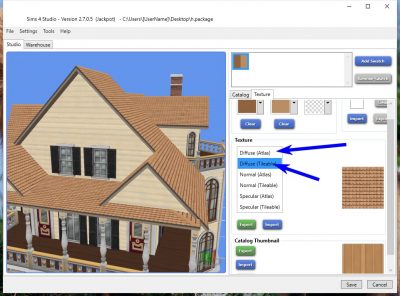
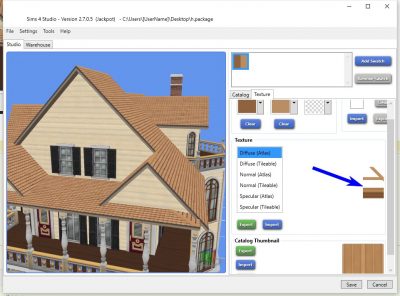
Roof patterns are a little, bit trickier as you need 2 images, but if you choose a pattern from the catalogue that’s close to the same colour as the one you want to create, you could probably get away with just the one image:
Don’t forget to try them in-game before you share them. ![]()

You must be a logged in member to download this file

Recent Comments